Table of Contents
- What to know:
- Example use cases
- Adding the bot to your channel(s)
- Accessing your bot's configuration
- Configuring your bot
Channel Notifications
![]() Updated
by Brian Mohr
Updated
by Brian Mohr
- What to know:
- Example use cases
- Adding the bot to your channel(s)
- Accessing your bot's configuration
- Configuring your bot
What to know:
- The Integration+ bot needs to be in the channel you are configuring
- The bot can be added to public or private channels
Example use cases
- Notifying the operations teams of production incidents
- Keeping track of priority support issues
- Finding issues that need to be assigned
Adding the bot to your channel(s)
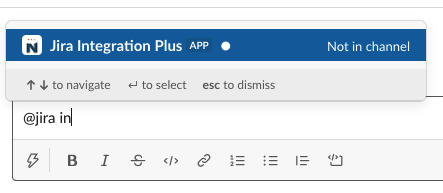
Use one of the following ways to add Jira Integration+ to your channel:
- Mention them with the @ directive. Simply typing @ + bot name will add the bot as an app to the channel.
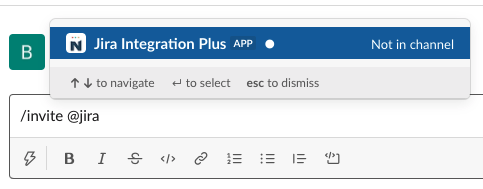
- Invite them with the Slack "/invite" command.
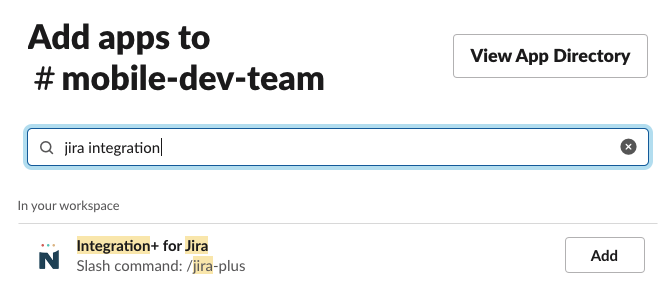
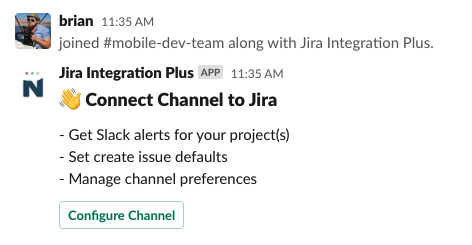
- Add the bot with the "Add app" Slack channel feature.Important: Once the bot is added, you will see the following confirmation message:
Accessing your bot's configuration
There are 3 convenient ways to access a channels bot configuration.
- Click the "Configure" button that is displayed when you first add a bot to a channel.
- Type "jira configure" as a message into the channel you want to configure.
- Type the "/jira-plus configure" as a message into the channel you want to configure.
Configuring your bot
- The following configuration options are for channels, not personal notifications.
- You are not required to configure your bot, but doing so will unleash its full power.
Configure Notifications
Click the "Configure" button to access your channel's notification options.
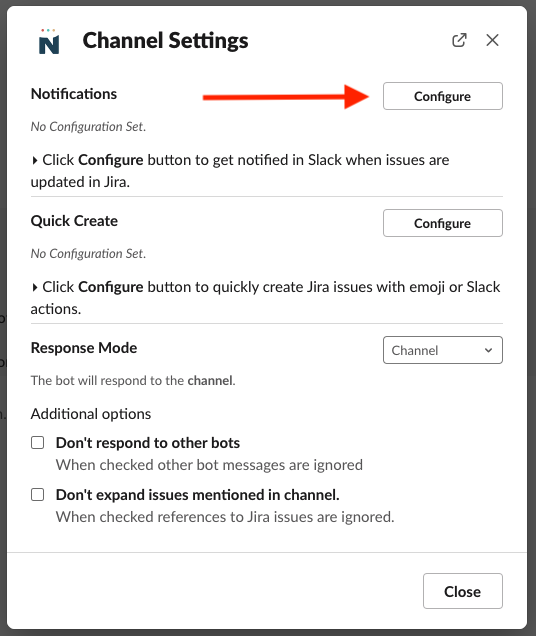
The following options are available for channel notification configuration:
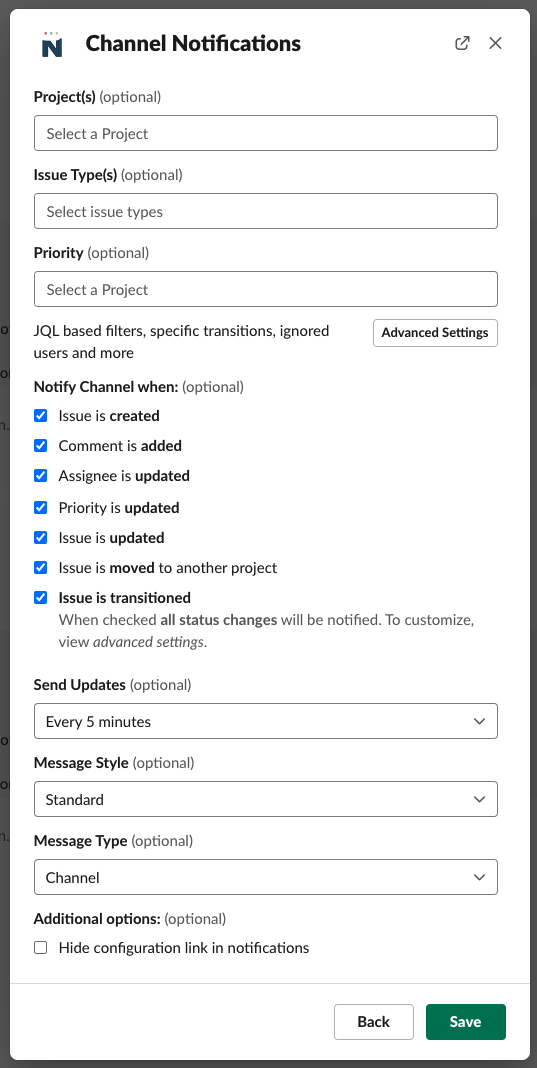
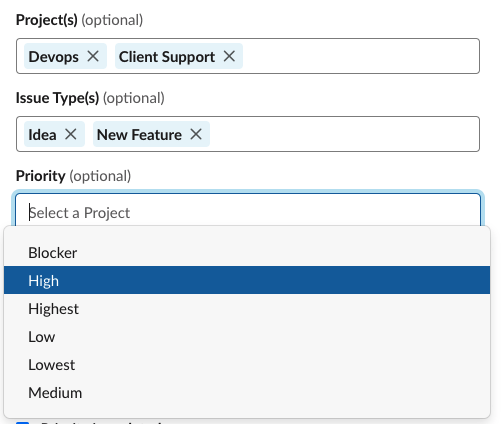
Projects, Issue Types, and Priority
- Start typing in each control. The bot will respond with suggestions based on text you enter.
- You can select multiple projects, issue types, and priorities. The bot will monitor Jira and generate notifications based on these channel settings.
Advanced Features
- Click the "Advanced Settings" button to toggle to JQL-mode.

- The following view allows the granular control with JQL syntax.
- You can enter any valid JQL syntax into the first text box.
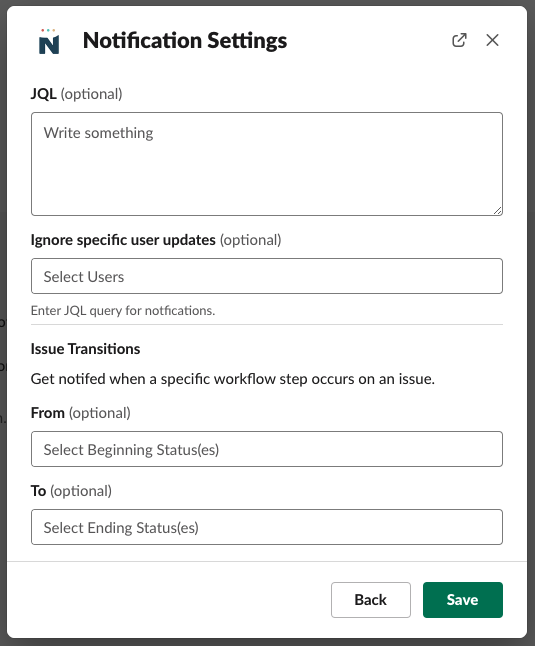
Ignore specific user updates
- This control allows you to enter user values to ignore.
- If the user set here adds an update in Jira, they will be ignore and no notification will be sent to this channel.
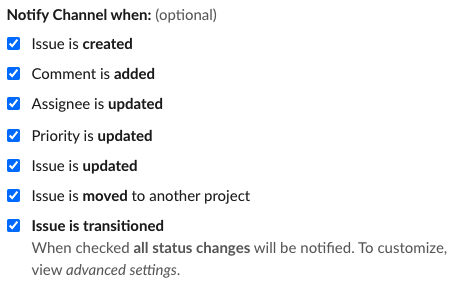
Issue Transitions
- This control allows notifications based on issues transitioned between Jira status value.
- Click individual Jira actions under "Notify channel when..." that this channel's bot should react to.
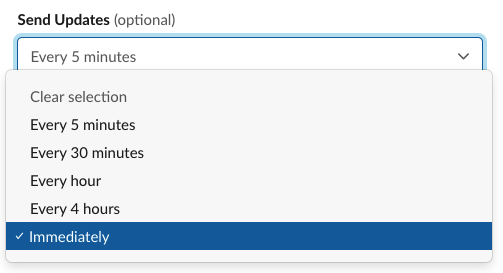
Select Delivery Frequency
You can configure the channel's bot to respond to Jira actions individually and immediately, or on an interval. Interval settings allow message to be bundled and displayed together.
Set Output Location
You can control where the channel displays bot notifications. Either directly in the channel, or in a daily consolidated thread.
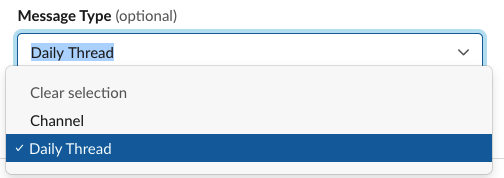
- When location is set to channel, any notification is displayed directly in the configured slack channel.
- When set to thread mode, the bot creates a daily thread message and keeps the summary information updated when notifications are triggered.
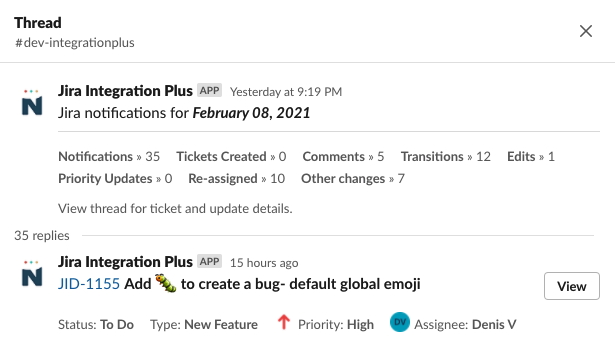
- Save your settings and your new notifications will start coming in thread mode.
Output Format
You can configure bot message format to be one of the following:
Quick Create Settings
Click the "Configure" button from the main channel configuration screen to access quick create settings
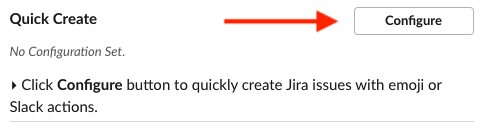
- The follow are all options available for quick create configuration
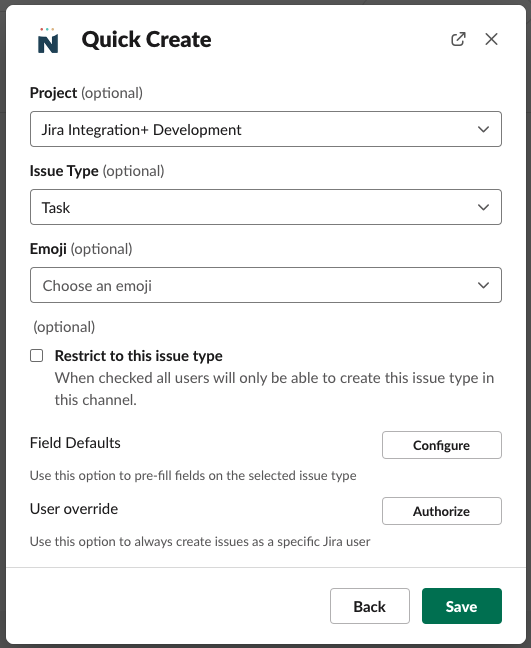
Additional Settings - Enable User Override
If not all slack users have a corresponding Jira user, you can set the channel to create Jira tickets on behalf of a specific designated user.
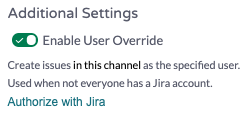
Click "Authorize with Jira" to authenticate your individual Jira account to be able to create tickets for every user in the channel.
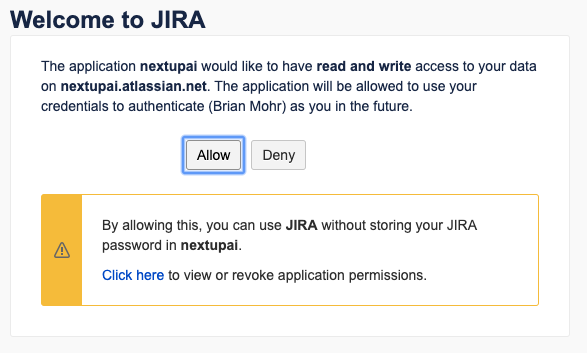
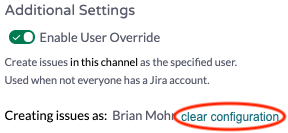
- Click "Allow" to authorize your Jira Intergration+ bot to access your Jira instance.
- Once saved, you can reset this configuration at any time
Removing a bot from a channel
Use one of the following ways to remove the Jira Integration+ from your channel:
- Use the "/remove" or "/kick" command